Unlock Perfect Oat Milk: Essential Tips for No Slimy Goo
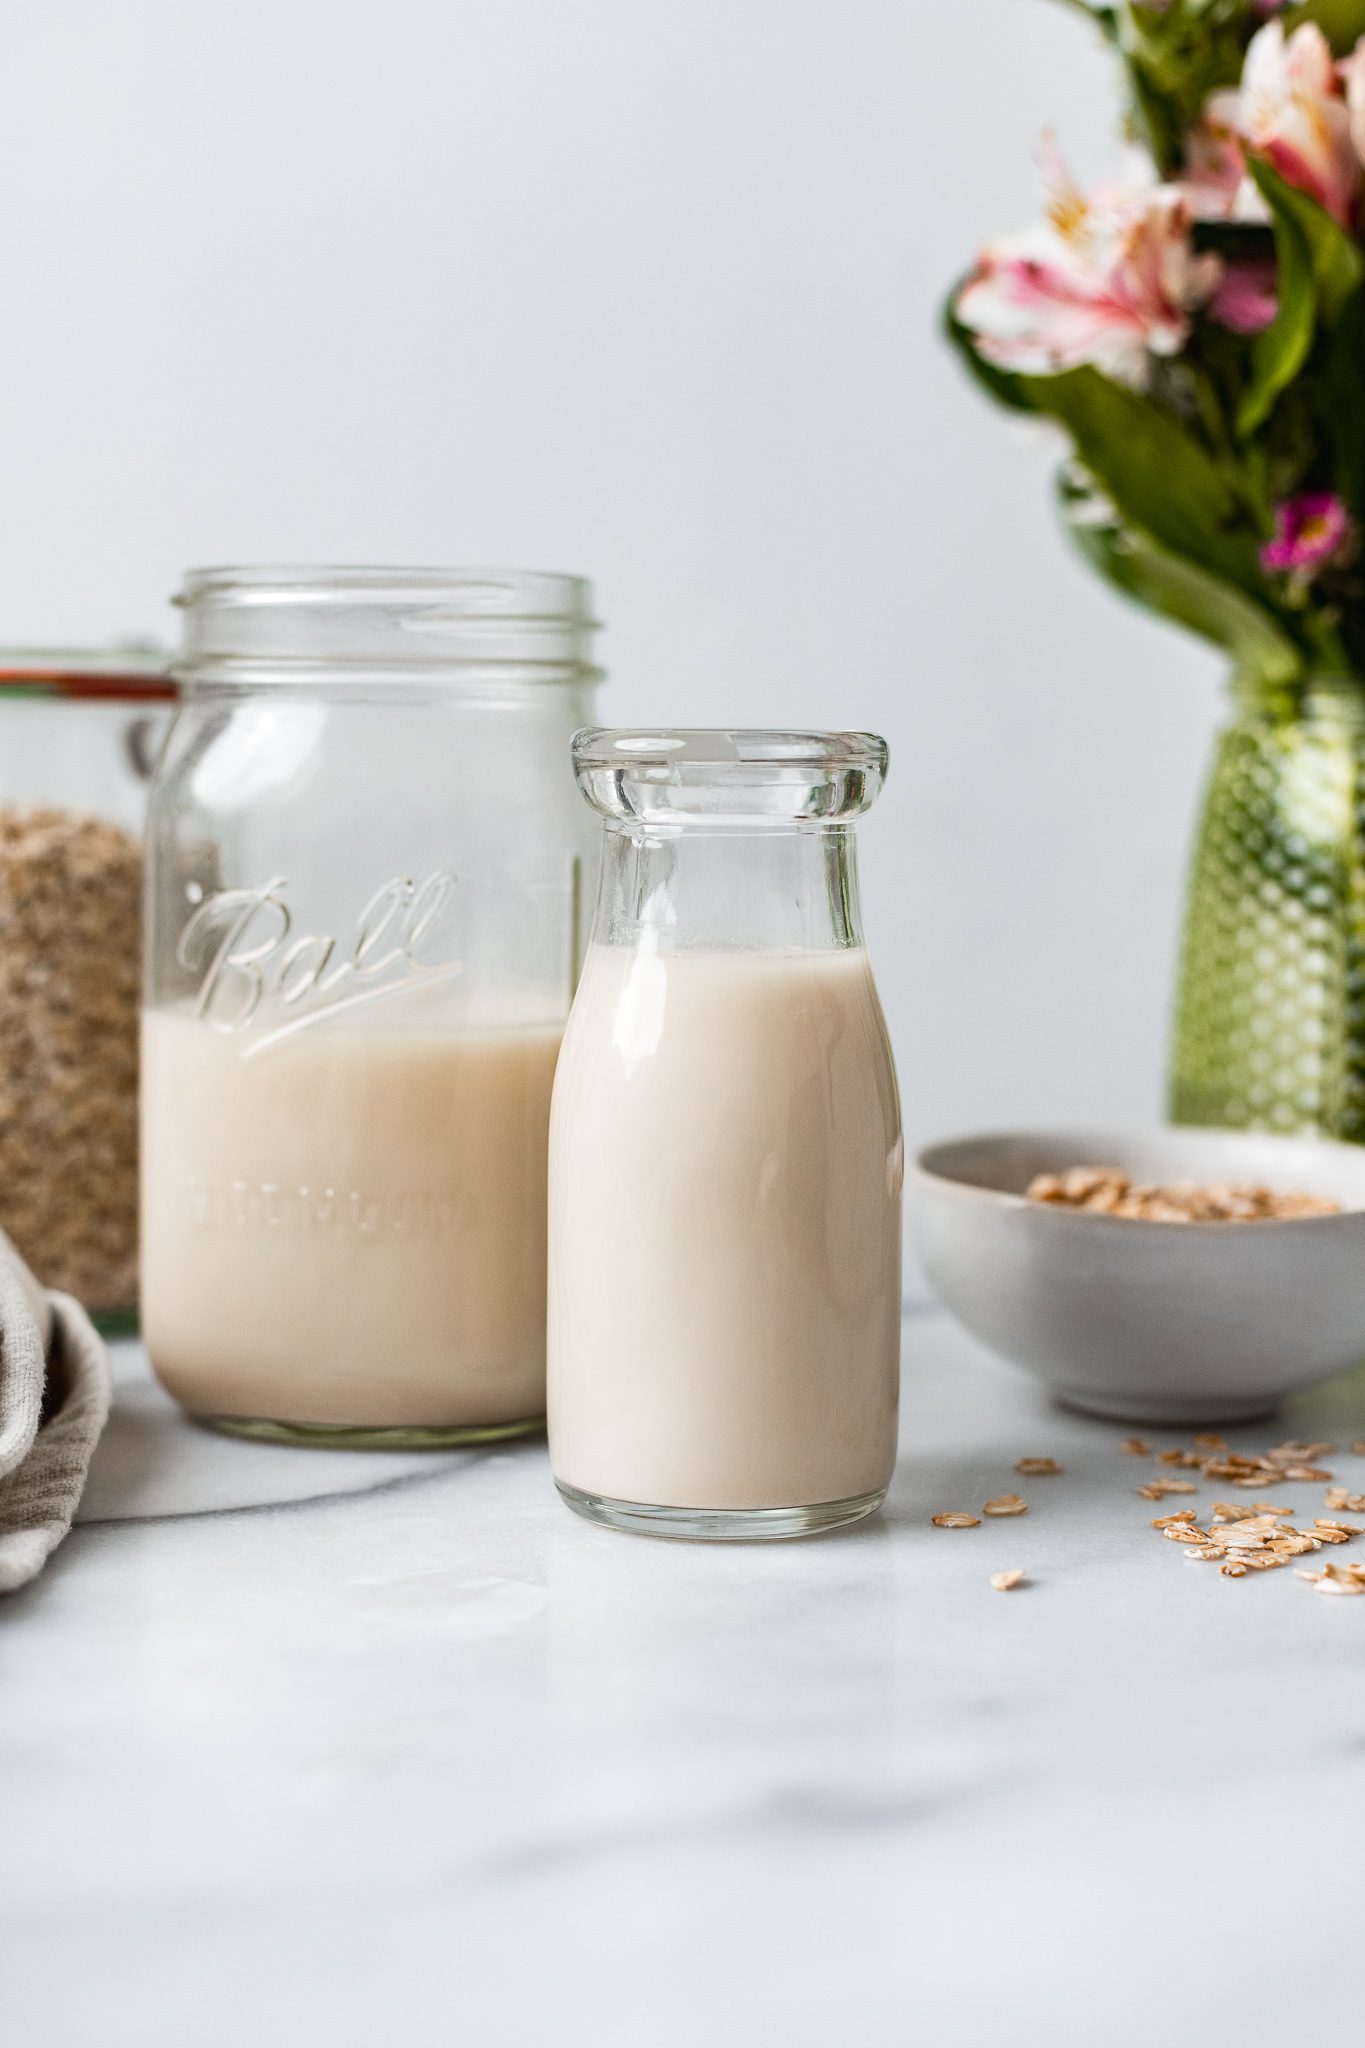
The allure of homemade oat milk is undeniable. Imagine a creamy, wholesome plant-based beverage, made with ingredients you trust, for a fraction of the cost of store-bought versions. It’s a dream for coffee lovers, smoothie enthusiasts, and anyone seeking a healthier dairy alternative. However, for many home cooks, this dream can quickly turn into a nightmare of watery disappointments, gritty textures, or, most commonly, that dreaded, unappetizing sliminess. If you've ever tried to make
homemade oat milk that isn't slimy and ended up with a gloopy mess, you're not alone.
The frustration is real. Online recipes often promise perfection, yet deliver inconsistency, leaving you wondering if a truly smooth, delicious, and non-slimy batch is even possible outside of a factory. The good news? It absolutely is! After countless experiments and a deep dive into the science of oats, we've distilled the essential techniques and insider tips that will empower you to create velvety, delicious oat milk every single time. Say goodbye to store-bought additives, exorbitant prices, and that universally loathed slimy goo. Your journey to perfect homemade oat milk starts here.
Why Ditch Store-Bought for Homemade Goodness?
Before we dive into the technicalities of preventing sliminess, let's reaffirm why making your own oat milk is a game-changer. Beyond the sheer satisfaction of creating something from scratch, there are compelling health and economic reasons to embrace homemade.
First and foremost is **ingredient control**. Scan the label of most commercial oat milks, and you'll often find a list of ingredients that includes seed oils (like canola or sunflower), gums (gellan gum, guar gum), emulsifiers, and various preservatives. While some brands are better than others, these additives are designed to create a specific texture, extend shelf life, and prevent separation – not necessarily to benefit your body. Many health-conscious individuals choose plant-based milks to avoid processed foods, yet inadvertently consume them through these store-bought options. Making your own means you know *exactly* what goes in: simple, wholesome ingredients like oats, water, and perhaps a touch of natural sweetener or vanilla. For more reasons to make the switch, check out our guide on
Ditch Store-Bought: Make Non-Slimy Homemade Oat Milk.
Secondly, **cost savings** are significant. Oats are an incredibly inexpensive staple, especially when bought in bulk. Compare the price of a carton of store-bought oat milk to the cost of the raw ingredients for several batches, and the financial benefit becomes clear. Over time, these savings truly add up.
Finally, there's the **freshness and versatility**. Homemade oat milk tastes incredibly fresh and vibrant. It's fantastic straight up, enhances your morning coffee or tea without curdling, blends seamlessly into smoothies, and performs beautifully in baking and cooking. Knowing you have a bottle of pure, unadulterated oat milk in your fridge, free from anything questionable, transforms your culinary possibilities and supports a cleaner diet.
The Secret Weapon: Choosing the Right Oats
Before you even think about blending, the type of oats you select plays an absolutely critical role in determining whether your
homemade oat milk that isn't slimy dream becomes a reality. Not all oats are created equal when it comes to milk-making, and choosing the wrong variety is a common pitfall leading to undesirable textures.
The undisputed champion for homemade oat milk is **rolled oats**, often labeled as "old-fashioned oats." These oats have been steamed and flattened, making them easier to blend but still retaining enough structure to prevent them from breaking down too quickly. Rolled oats strike the perfect balance: they provide that creamy consistency without releasing excessive starches that cause sliminess. They are widely available, economical, and likely already a staple in your pantry, making them the ideal choice for consistently smooth results.
On the other hand, there are two types of oats you should **definitely avoid**:
* **Steel-cut oats:** These are whole oat groats that have been cut into two or three pieces. They are minimally processed and much harder than rolled oats, requiring significantly longer cooking or soaking times. If you try to make milk with steel-cut oats, you’ll find they either don't blend finely enough, leading to a gritty texture, or they require extended blending, which then releases an abundance of starch, guaranteeing a slimy outcome.
* **Instant or quick oats:** At the opposite end of the spectrum, these oats are heavily processed, pre-cooked, dried, and then rolled thinly. While convenient for a fast breakfast, their finely processed nature means they break down almost instantly in the blender. This rapid disintegration releases starches far too quickly, resulting in a thick, gummy, and very slimy oat milk that no one wants in their coffee.
In summary, when standing in the grocery aisle, reach for the bag of **rolled oats** (old-fashioned oats) and confidently bypass the steel-cut and instant varieties. This foundational choice sets you up for success, ensuring your milk has the best chance of being creamy, not gooey.
Mastering the Technique: Your Anti-Slimy Toolkit
With the right oats in hand, the real magic happens in the preparation. This section outlines the essential techniques – the non-negotiables – that prevent sliminess and ensure your
homemade oat milk that isn't slimy is always a success. These aren't suggestions; they are critical steps informed by extensive testing.
1. Ice-Cold Water is Non-Negotiable
This is perhaps the most crucial tip. **Always use very cold water.** We’re talking water that has been chilling in your fridge for several hours, ideally ice-cold. Why? The colder the water, the less readily the oats release their starch. Starch is the primary culprit behind that undesirable slimy texture. Using room temperature or even just chilled water increases the risk of gumminess. Some experts even suggest adding a few ice cubes to your water just before blending to ensure maximum coldness.
2. Never Soak Your Oats
This might go against conventional wisdom for many recipes, but for oat milk, **do not soak your oats before blending.** Soaking oats causes them to absorb water and soften significantly, which in turn makes them much more prone to releasing starch prematurely during blending. This leads directly to a slimy consistency. Keep your rolled oats dry until they hit the blender with that ice-cold water.
3. The Art of the Quick Blend: Less is More
Over-blending is one of the most common mistakes and a surefire way to create sliminess. You need just enough blending to break down the oats and extract their goodness, but not so much that you start pulverizing them into a starchy paste. For most high-speed blenders, **20-30 seconds is the sweet spot.** Any longer, and you risk activating too much of the oat's natural starches, resulting in a gooey texture. A quick, powerful burst is all you need.
4. Gentle Straining is Key: No Squeezing!
Once blended, the straining process is equally important.
* **Use the Right Tool:** A fine-mesh sieve lined with cheesecloth or, even better, a dedicated nut milk bag, will yield the best results.
* **The Golden Rule: Do NOT Push or Squeeze:** Pour your blended mixture into your chosen straining tool. Allow gravity to do its work. Let the liquid drip through naturally. **Resist the urge to squeeze, press, or push the oat pulp through the strainer.** Squeezing forces out excess starch, leading directly to sliminess. Be patient; it's worth the wait.
* **Double Strain for Perfection:** For an ultra-smooth, perfectly creamy, and absolutely non-grainy texture, **strain your oat milk twice.** The first strain removes the bulk of the pulp. The second strain catches any remaining fine particles, guaranteeing that silky-smooth consistency. This step, though seemingly minor, makes a dramatic difference in the final mouthfeel of your homemade oat milk. For more on achieving that velvety texture, read our detailed article:
Homemade Oat Milk: Get Creamy, Never Slimy Texture.
Beyond the Basics: Enhancing Your Homemade Oat Milk
Once you’ve mastered the art of making non-slimy oat milk, you can elevate your creation with simple additions and ensure optimal enjoyment.
* **Flavor Enhancements:** The beauty of homemade is customization. A splash of **vanilla extract**, a tablespoon of **maple syrup** or a pitted date for natural sweetness, and a tiny **pinch of salt** can transform your basic oat milk into a gourmet delight. These subtle additions often mirror the flavor profiles of premium store-bought brands, but without the unwanted extras. You can also experiment with a dash of cinnamon, a hint of cardamom, or even cocoa powder for a chocolatey treat.
* **Storage Savvy:** Pour your freshly made oat milk into an airtight container or glass bottle. Store it in the refrigerator. Homemade oat milk typically stays fresh for **3-5 days**. Because it lacks the preservatives found in commercial varieties, it won't last as long, but its superior taste and pure ingredients more than make up for it. Give it a gentle shake before each use, as some natural separation may occur.
* **Troubleshooting & Refinement:** If, despite following these steps, your oat milk still shows hints of sliminess, revisit your technique. Was the water truly ice-cold? Did you resist the urge to squeeze the pulp? Was the blending time precisely 20-30 seconds? Small adjustments can make a big difference. With a little practice, you'll intuitively understand the rhythm of perfect oat milk making.
Conclusion
Creating
homemade oat milk that isn't slimy is not a mythical feat reserved for professional chefs; it's an achievable goal for any home cook armed with the right knowledge and techniques. By consistently choosing rolled oats, using only ice-cold water, committing to a brief blending time, and mastering the gentle art of double-straining, you can confidently say goodbye to slimy goo and embrace a world of creamy, delicious homemade goodness. The satisfaction of knowing exactly what's in your glass, coupled with the health benefits and cost savings, makes this a kitchen skill truly worth perfecting. So, grab your oats, chill your water, and prepare to unlock the perfect oat milk experience – one smooth, non-slimy sip at a time.